With teaching 1st graders how to read, sometimes having students listen to their own voice while reading can be very beneficial. This helps them see if they are reading like a robot, word by word or paying attention to punctuation. Parents that are not familiar with the term fluency or reading with intonation can have a hard time understanding some "teacher" talk about reading. This is where the Educreations app comes into play. My 1st graders are becoming experts with the Educreations app. We keep digital portfolios throughout the school year. One element that we keep in the portfolio is their development with reading. Moreover, we use these portfolios to show parents what fluency sounds like as well as how reading with intonation can impact the meaning of sentences. Below is how we use the Educreations app for cataloging our reading development. 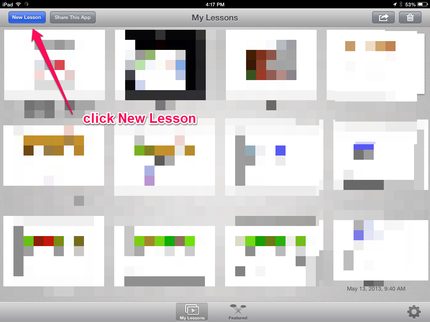 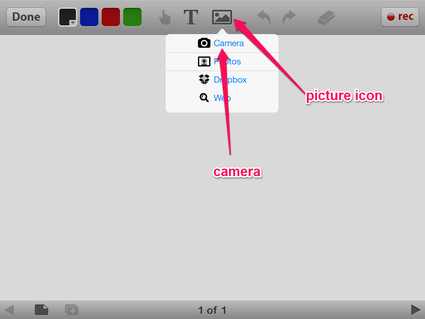 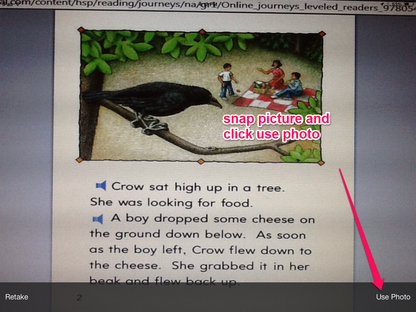 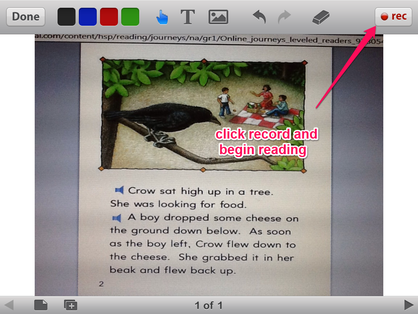 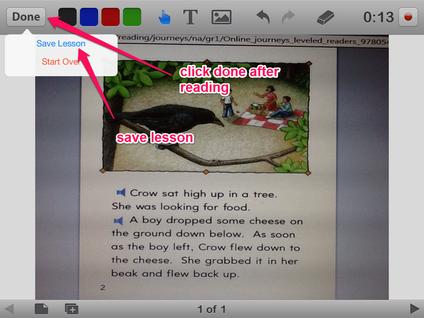  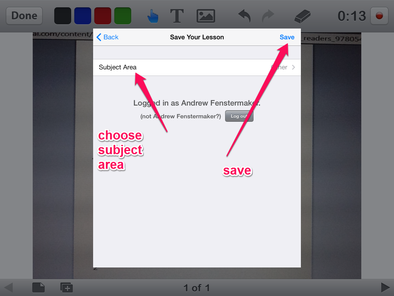 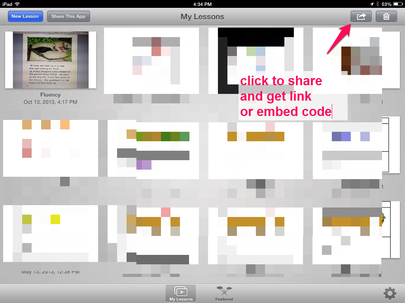 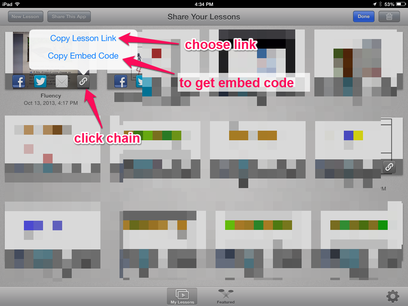 You can take the link and place into the digital portfolio. We use Evernote to create our digital portfolios. You can even take the link and send it to parents. They can open the link to view/listen to their child's fluency. **Students are limited to sharing links only. **You are able to get the embed code if you save as "public" and are not signed in as a student. Below is an embedded sample.
0 Comments
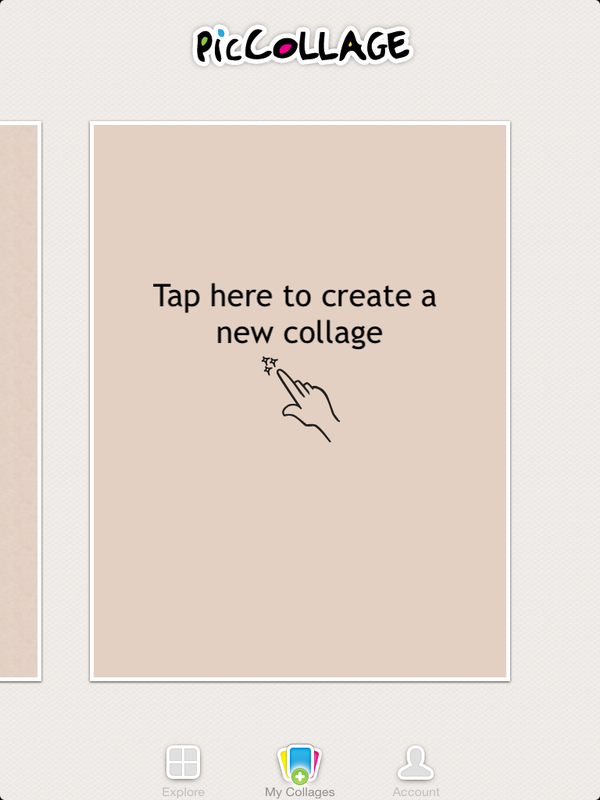
 We have been learning all about short vowel sounds. During this time we have been working to sort pictures based on their middle vowel sound. We used the app Pic Collage to utilize our iPads, do a little formative assessment and create some cool collages. I had posted some images around the classroom. Each image modeled a short vowel sound (a,e,i,o,u). Students were to pick one short vowel that they would be hunting for during our center time. Once students chose a short vowel, the mission was set. During center time, students opened the Pic Collage app and created a new canvas. To add an image to the canvas, you simply click anywhere and options are displayed.
My students chose the option to use the camera. They would then snap a picture of their short vowel picture. This picture was tacked onto their canvas. They would then repeat this process until they felt like they had found all the pictures for their chosen short vowel. The last two steps were for students to take a picture of themselves as well as add some text. The picture they took of themselves was then added to their canvas. This allowed me to see who created each canvas. The text was added to label which short vowel they were hunting for during this activity. Below is the final product of our short vowel hunt. 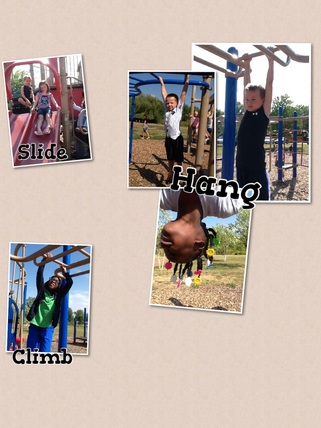
We are learning about action words this week. We watched a short You Tube video about action words. This required students to get out of their seats and mirror what was happening in the video. In addition, we used a the Word Play game on Between the Lions website to learn more about action words.
After our introduction to action words, we decided to put our understanding to the test. It was super nice weather and decided to take our iPads outside for some action word adventures. Having 5 iPads, I put students into groups of five or six. They had to use the playground and model an action. When they were modeling the action, another group member would snap a picture. Once each member of the group had a picture of an action, they used the Pic Collage app to assemble their collage of action words. Once the app was opened, students were able to import all their pictures at one time form the camera roll. After imported, they worked to move them around for their collage so that all of the pictures could be seen. The last step was to add a label to each picture with its corresponding action word. Our collages will be printed and hung up in our classroom as we continue to study action words. In addition, we Tweeted out some of our final collages to see if other classes could add their own action words. *Our class Twitter is @fenstysfirsties 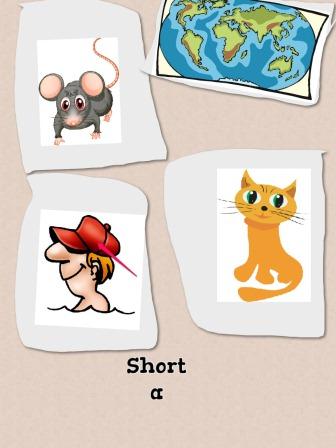 As my 1st graders continue to learn about short vowel sounds, I try to find different ways to enrich their learning experience using the 5 iPads that we have in our classroom. We have talked about the short "a" and "i" sounds so far this year. In our previous exploration of building words, we used the Educreations app and picture cards to build words. Read about it here. Our goal with our new activity was to hone the skill of differentiating between the sound represented by the short "a" and the sound represented by the short "i." Furthermore, I wanted them to practice their collaboration skills by working in small groups to sort pictures. There is some initial prep, but the kids loved this activity. I created a screen cast about this process which may help clarify some of the steps that are listed below the video. Step 1: finding pictures with short "a" and "i" The first job I had was locating numerous images that could be used to represent the short vowel sounds of "a" and "i." Luckily for my district, we have access to iClipart for Schools. If you do not have access to clip art, check out my clip art resource page to find resources for finding royalty free clip art. Step 2: Saving pictures to the cloud After you have found the pictures you want to use, you can save the to a cloud service such as Google Drive, Dropbox, SkyDrive, Box, etc. I used Google Drive for this step. There are a couple reasons I saved it to the cloud: 1) I can reuse this or tweak it year after year instead of reinventing it each time, 2) I can get a URL for my image stored in the cloud. Step 3: Create QR Codes Now that you have your images saved to the cloud, you can obtain the URL for your image. In Google Drive, you can choose to share your image and change the option to "anyone who has the link can view." By doing this, you are given a link for your shared image. If you are not familiar with QR Codes, check out Common Crafts explanation. You can use any QR Code generator you would like to create QR Codes for your images. I used QR Code Generator which I have as an app in Chrome. I copied the link of each image, and created a QR Code for each image. Step 4: Save QR Codes As you are creating a QR code for each of your images, it is a good idea to save them into a document or spreed sheet. Since I was using Google Drive to store my images, I just created a Google doc to house the QR codes for this activity. I inserted a table and began adding my QR codes. This allows me to have them for future reference as well as label them so I know what the QR code represents without having to scan it. Step 5: Print, Cut and hang QR Codes Once you have all your QR codes created and saved, you can print them out. I printed out two copies. One that I could cut up and then one that I could keep as a master while students were doing the activity. While I was cutting, I put a "1" on the first QR code that was to get hung up and then put a "1" on my master copy. *Remember the master has a caption telling what each QR Code is without scanning it. However, I don't want my students to see what the QR Code is unless they scan so I just put a "1" on it so I could compare it to the master. This was repeated for all of the QR Codes as I hung them around the class. I had a total of 12 QR Codes hanging around. STep 6: Groups, Pic Collage and have fun! The final step is to put your students into small groups. Also, if your kids haven't used the Pic Collage app, it would be good to go over it first. Basically, the Pic Collage app lets you insert multiple pictures onto one "poster." You can resize, crop, rotate, layer and much more with your images. In addition you can add text to your "poster."
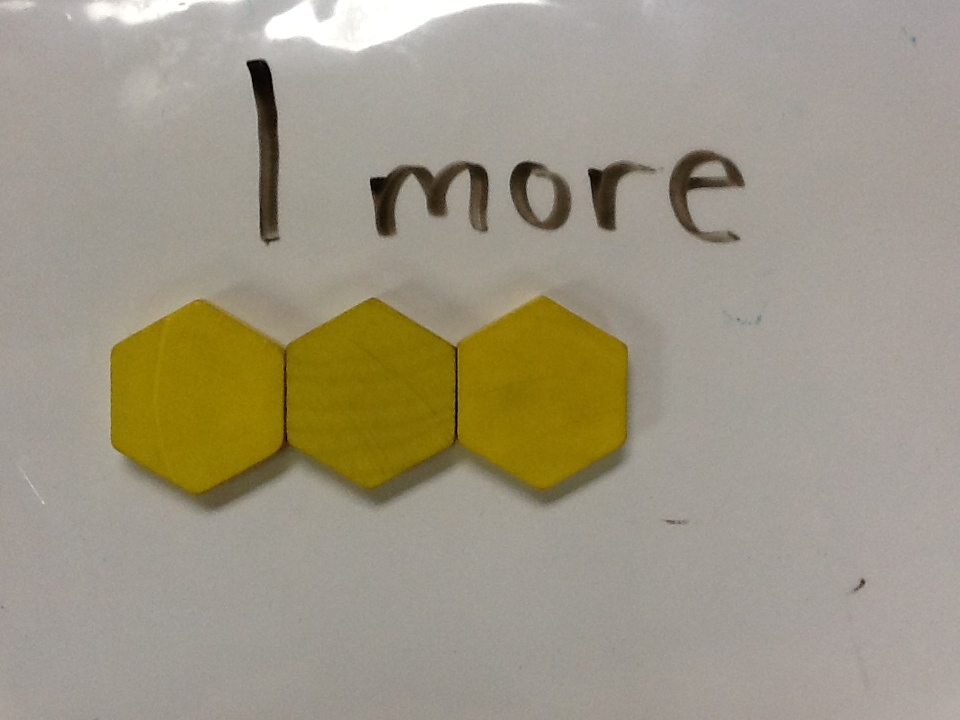
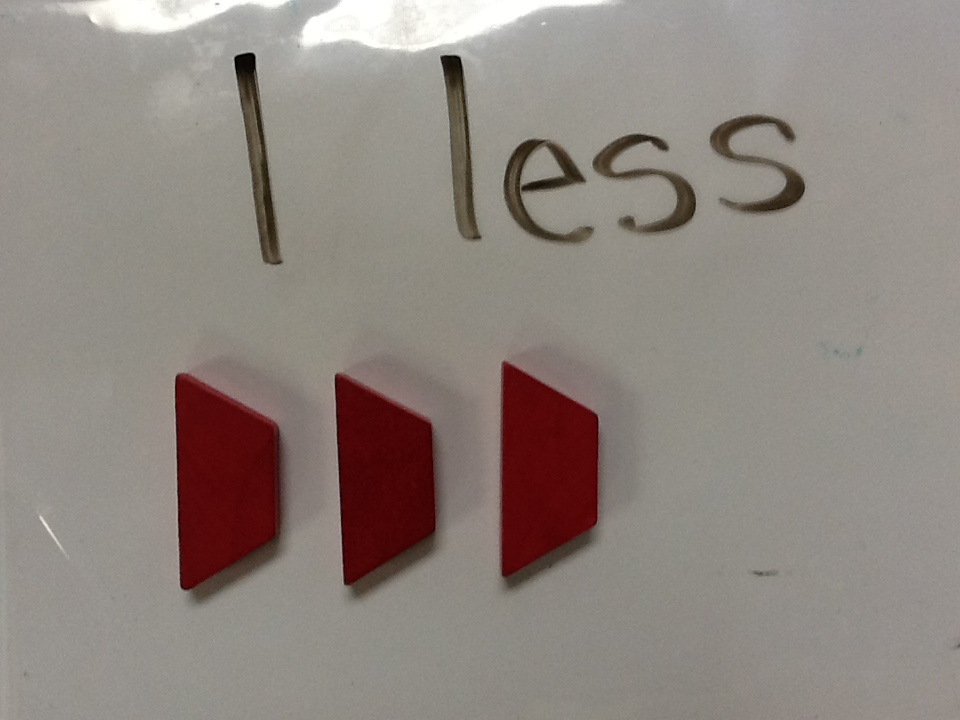
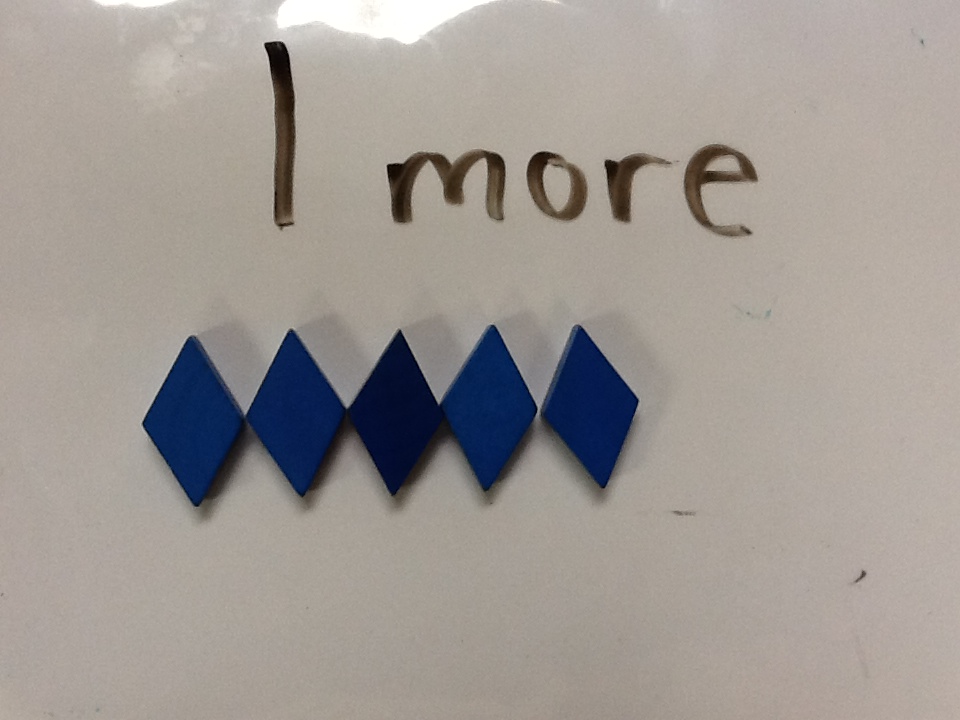
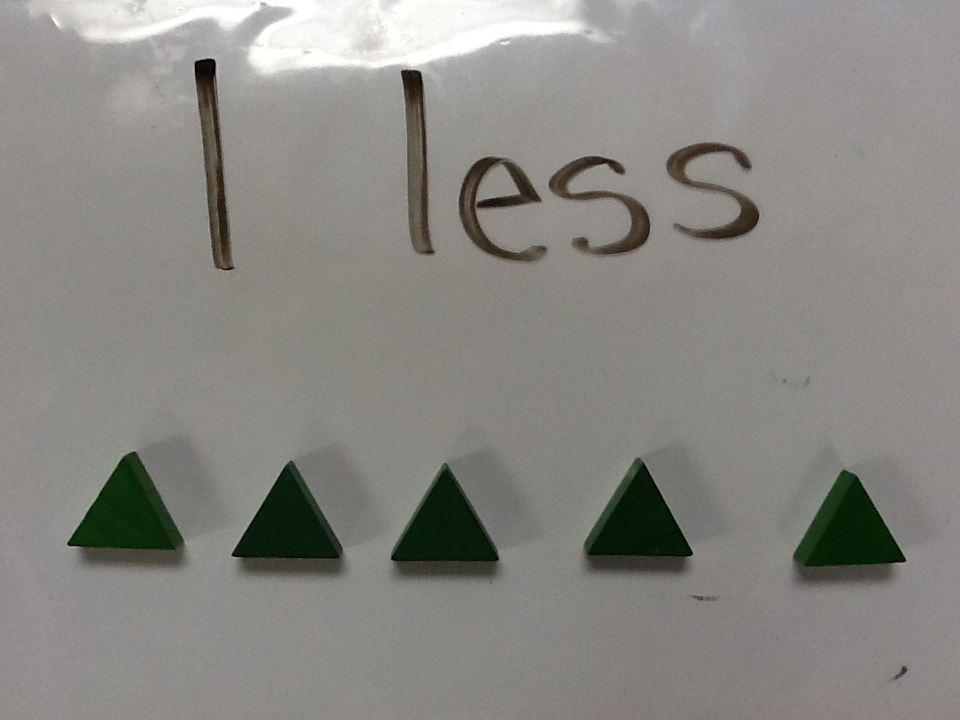
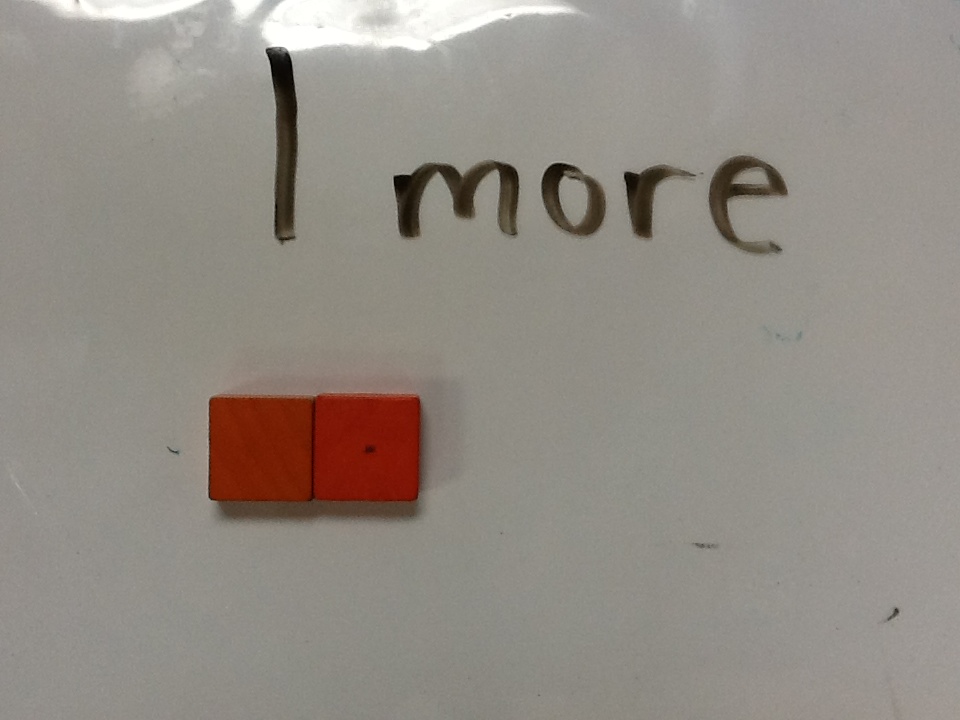
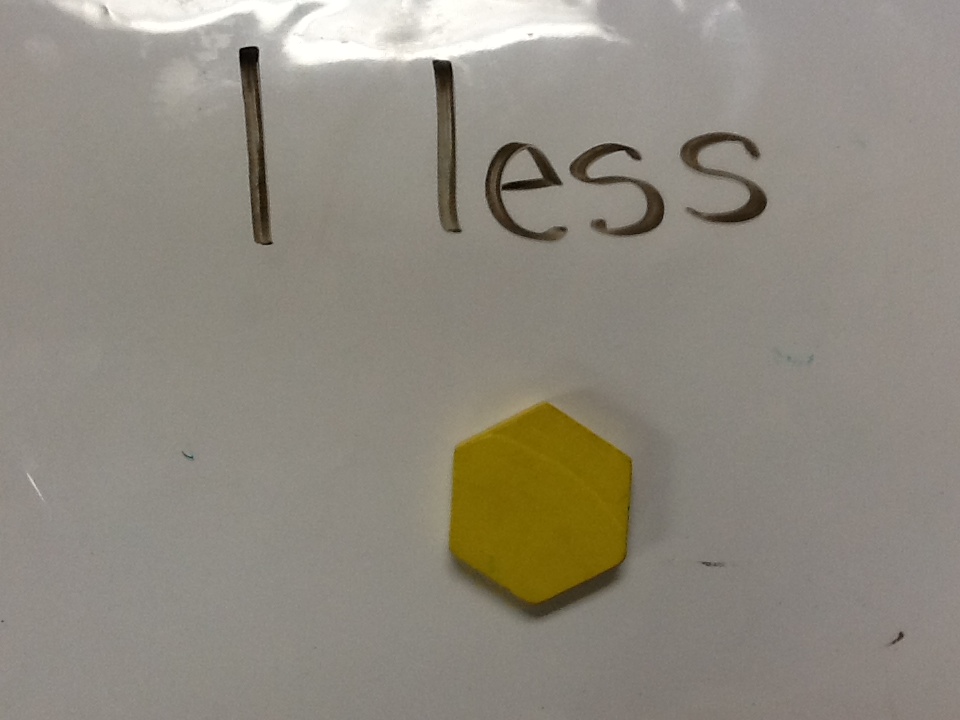
Each group chose either short "a" to "hunt" for first or the short "i." They set out scanning QR Codes using the Qrafter app. Once the QR code was scanned, the correlating image would be displayed on the iPad. If it matched the short vowel their group was "hunting" for then they would screen shot the image (home/power button simultaneously). After the students found all the corresponding pictures for their chosen short vowel, they opened up the Pic Collage app. Once inside the pic collage app, students were able to create a new poster. One option is to add images from the camera roll (this is where all their screen shots saved). After they loaded all their images from the camera roll, they could add text telling what the pictures represented and move onto the next short vowel hunt.  During our reading rotations today, students used the Educreations app on the iPads to model 1 more or 1 less. This was to provide some practice with our math lesson from yesterday. In math we had talked about and practiced problems with 1 more and 1 less. 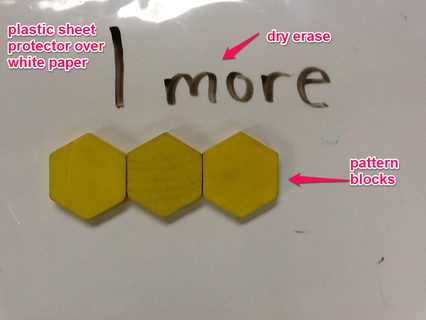 To get this set up this morning I began by taking some pictures with my iPad. I have little tubs of pattern blocks that I planned to have students use for this activity. Using a dry erase marker, some pattern blocks and a slate (white paper with plastic sheet protector) I created a total of six problems for students to complete using the Educreations app. Below are the six problems I created using my iPad.
I took these 6 images and uploaded them to a shared folder in my Dropbox app. I have my own personal Dropbox account and I created one generic Dropbox account that my student iPads are signed into. Since I have a shared folder, I can put items into it and those items will automatically show up on the student iPads. This saves me from having to load the pictures onto each iPad individually. **In the picture below you can see that each picture was labeled for it's corresponding page. This helped students know which picture to put on which page in Educreations. 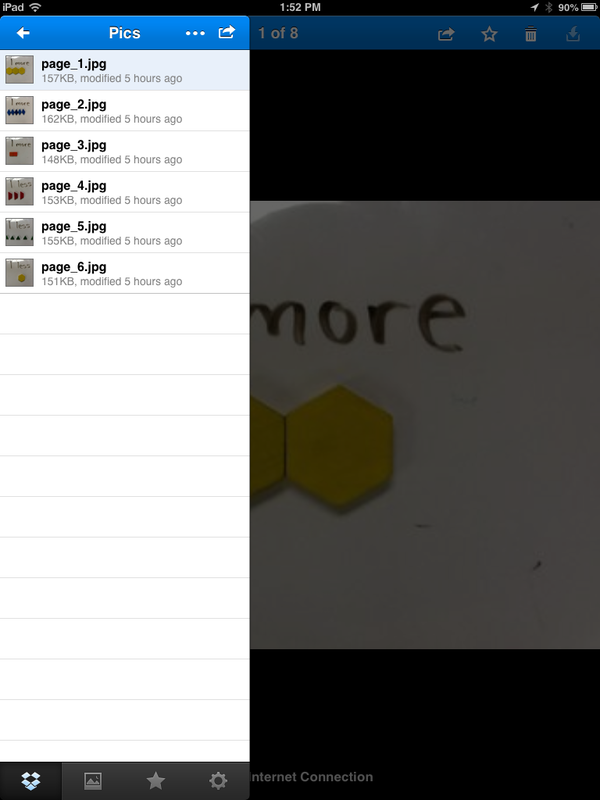 After I had all the pictures in the shared folder, my work was done. All that was left was explaining the steps to my students. Below is what I explained to students for completing this task. If the presentation doesn't load try clicking here. What I learned **I got my iPads for my students in the spring of last school year. I got spoiled by my 1st graders being able to follow multiple step directions and being more independent.
Just as we encourage students to fail and learn from their mistakes, today was an epic failure on my part. After modeling and modeling again about the Educreations app and what I wanted students to do, it was one hot mess. "What do I do again?" "How do I add a picture?" "Where do I press to record?" "How do I get a new page?" "How do I save?" I now know what my students feel like when something doesn't work that they tried so hard to master! As with all technology in the classroom, you have to take risks and learn what will work. We will be revisiting this assignment and I will be remember to---KISS (keep it simple stupid). My goal tomorrow will be to require only one picture inserted, recorded and saved. The following day we will require two pictures. While I felt like a failure, check out this student sample for what I was hoping to accomplish.  Today during our grammar lesson we were exploring nouns. We began this lesson by watching a Brain Pop Jr. video. After watching the video and discussing different types of nouns, we introduced a new app for our iPads.  I hooked up the iPad to our projector and modeled how to open up the Skitch app. Below are some images highlighting this process. **Our internet was not working so we had to save the images to our camera roll instead of syncing to our Evernote account. 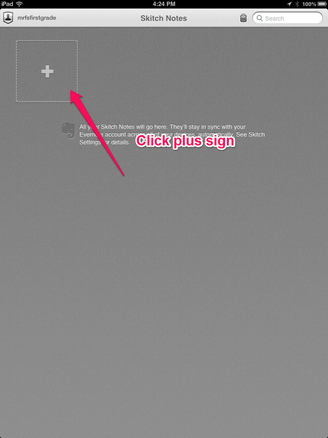 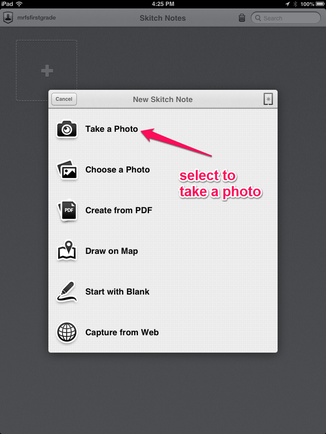 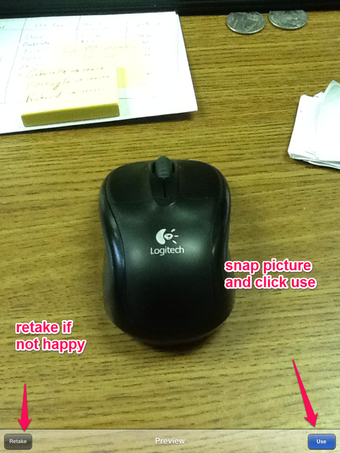 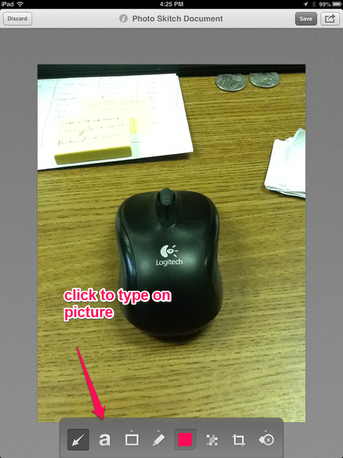 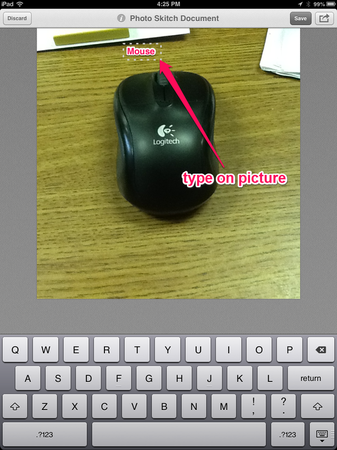 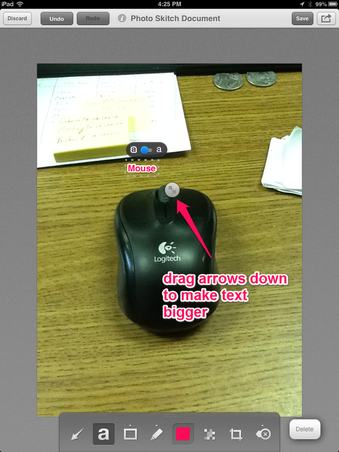 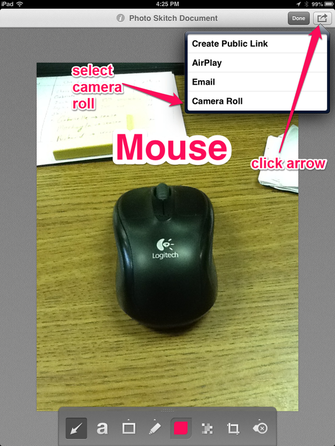 After all students had saved their images to the camera rolls, I had them open up Dropbox to upload the pictures to our Dropbox account. Once school was out, I took the images and downloaded them to my desktop. I then put them into PhotoStory and added some music. Below is our final mash up of our noun hunt. **In the future, I would like the groups of students to use the Animoto app to turn their photos into a short video. Another idea would be for students to put all the images into the Pic Collage app and share their group "noun hunt" images with the class or post to their blog.
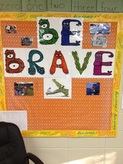
We started the school year talking about "being brave" in 1st grade. We watched Winnie the Pooh and Christopher Robin talk about this as well. After completing a week of school, I wanted to revisit the "be brave" rule in my classroom. Today we read Peter H. Reynolds book The Dot. Upon completing the book, we discussed how Vashti wasn't being brave with her art to start. When she took a risk to be brave she found out that she could be good at art. I had my students thinking about which subjects in 1st grade might be hard for them. They had to pick one subject they thought they weren't good at. Then they used this PDF to create their own "dot." After each student's "dot" was completed, they used the colAR Mix App to make their 2D dot come to life in 3D. The app allows you to snap a screen shot of your 3D "dot." All the students took a screenshot of their "dots." We then used Animoto to create a short video of our "dots" to be brave with this year. our "dots" to be brave with this yearcolar mix app in action Up in Pieces is app that I have blogged about before here. After this post I had some people inquire about sharing the puzzles with their students. I wanted to elaborate a little more on the process of sharing your created puzzles. Below is a screen cast about creating and sharing Up in Pieces jigsaw puzzles. The app provides you with the option to share via Facebook, Twitter or email. In my screen cast I talk about sharing via email. However, what if Facebook, Twitter and email are not set up/allowed on your student iPads? I also discuss using QR Codes to share your created puzzles with your students.  To kick off our new school year, my principal asked me to put together a short presentation on iPad apps. Below is a the presentation that I put together of apps. My focus was on free apps that could be used within the classroom. While the iPad is a great consumption device, a majority of the apps listed can be used for creation. This is by no means a complete list of the apps to use in a K-6 classroom. If you have any suggestions that should be added I would be happy to add them. Feel free to share the presentation with your teachers/staff.  At the recent iPad U hosted by GWAEA I learned about three new apps to help primary students hone their spelling skills. These apps are created by @Reks While they make a variety of apps, I am highlighting the three apps are below:
1) Build a Word Easy Spelling learn to spell sight words, long and short vowels--with 700+ words, students can choose to learn, practice or test. The app keeps a history of the students progress. You can use upper/lower case letters as well as toggle audio feedback on and off. ($2.99) 2) Build a Word Easy Spelling with phonics--same capabilities as the previously listed app with more emphasis on phonics. Toggle on audio and/or visual prompts. ($2.99) 3) Build a Word Express--this is the free version that allows a lot of the similar functionality as the other apps but there are in app purchases needed in order to reap the whole benefits of this great app. |
Andrew FenstermakerInstructional Technology Coordinator | Innovation Coach | Google Certified Innovator | Presenter | Blogger | Adjunct @UiowaEducation | Owner @kids_f_i_r_s_t 


|


 RSS Feed
