|
Our target skill for this week was conclusions. We began by watching the YouTube video below.  After watching the video, we talked about drawing a conclusion. We were able to conclude that the cake was made for his mother. After our brief discussion, we wanted to practice our skill. I put together some QR Codes to assist with practicing conclusions. I had my students use their LearnPads to scan codes using the ScanLife app. In addition, I had created a quiz using Socrative. Students opened up both apps and were able to toggle back and forth. They scanned a code with the ScanLife app and then provided their answer within the Socrative app. The QR Codes provided three of four statements. These statements were clues that students could use to conclude what was taking place. For example, 1) Your mom takes your temperature, 2) You have to stay in bed all day, 3) You eat soup. Based on these clues, a student could conclude that you are sick. If you would like to use the QR Codes, you can access them here. There are a total of six "mystery conclusions" for students to solve. You can add the Socrative quiz by using the following: SOC #: 13411210 This activity got them out of their seats as well as provided some practice with drawing conclusions.
During our reading group rotations I had students apply their understanding of conclusions by creating their own mystery conclusions. To accomplish this, students used iClipart for Schools. They located three to six pictures that they could use as clues for an activity of their choice. Once they had their pictures, they opened up the Pic Collage app and created a collage of their three to six pictures. Their collage was saved to their Google Drive accounts. The final step was to create a new post using Kidblog. They titled their post Conclusions and inserted their collage from their Google Drive account. Tomorrow we will be spending time during reading rotations leaving comments on each post about conclusions. We will leave our "conclusion" guess in the comment box on each of our classmates. This process of creating their own conclusion collage required them to think critically about which pictures should be used to represent their activity. In addition, they had to apply their understanding of conclusions in order to leave a comment on each others' blog post. Below are some example collages that my students created during this process. 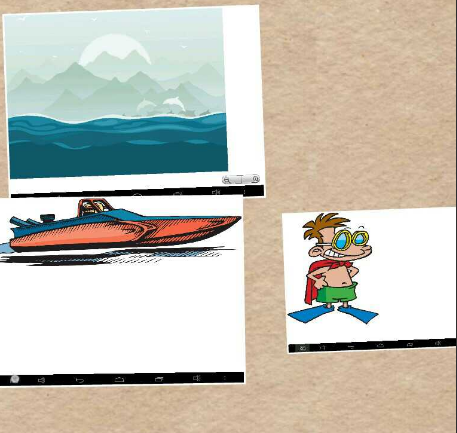 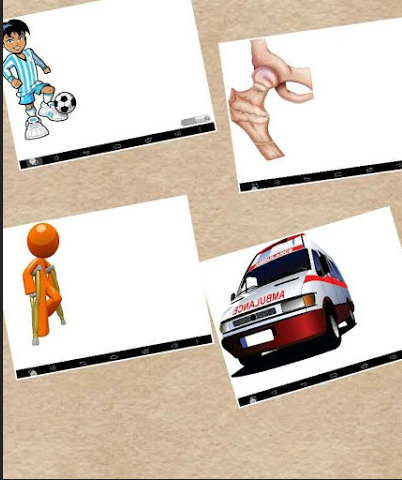 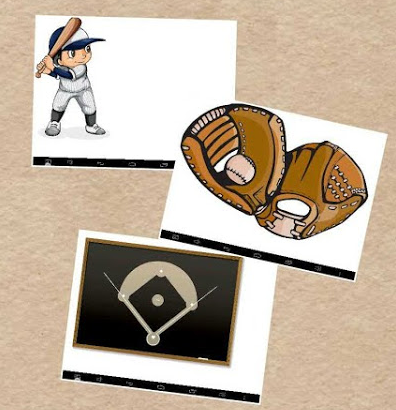 Share This:
0 Comments
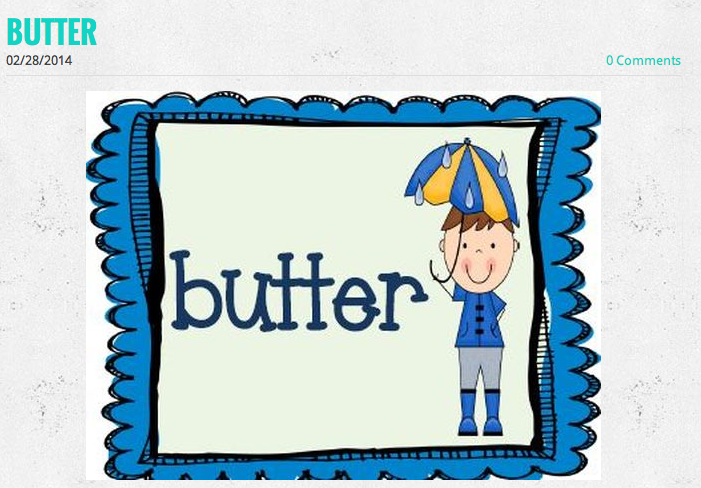
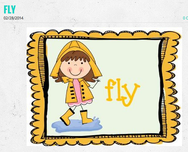
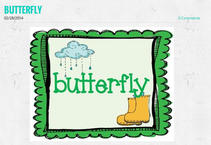
**If you are unfamiliar with this project, check out my first post introducing my pilot project with LearnPads and comparing them to iPads. 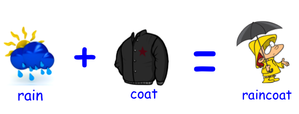 My first graders are spending this week learning about compound words. We began by watching the Compound Word Boogie. After this short video and gaining a better understanding of combining two words together to make one, we moved onto collaboratively practicing compound words. To summarize this activity, we used QR codes to practice building compound words. Students would scan a QR code. Upon scanning, a word would be revealed. After having the word displayed on their tablet, they had to search around the room for other classmates that had the other parts to their compound words. For example, if student one had rain, student two had coat and student three had raincoat, they had to find each other to build their compound word. Check out some of the steps below for this process. QR Codes
I began by creating a new blog post for each of the words as well as their compound word. You can see the sample above. After creating a post for each word, I then took that URL and created a QR Code using QR Code Generator. These QR Codes were then saved into a Google Doc for future reference. See examples below for turning URL into QR Code and saving to Google Doc. 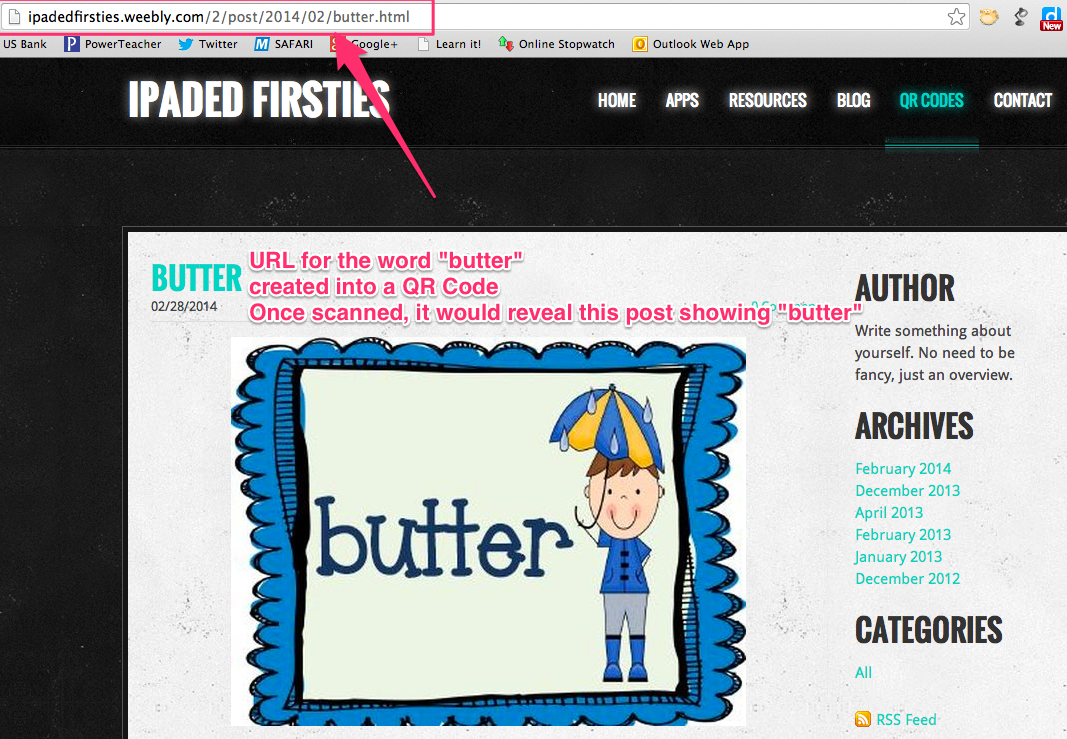 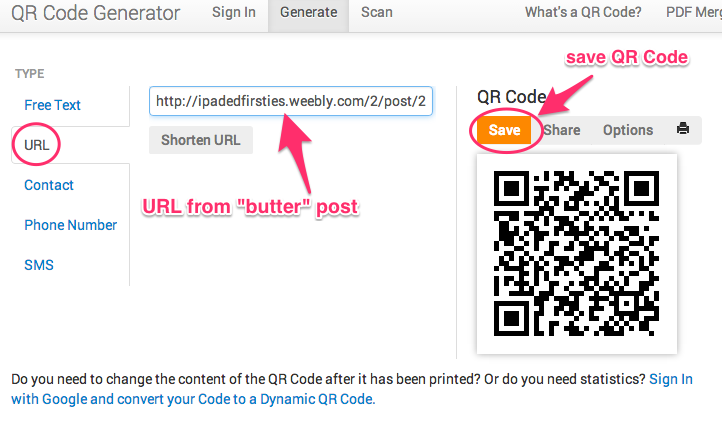  Building Compound Words After I had created a QR code for all the words that I wanted to use, I then printed them out and gave one to each student. Students scanned their QR Code to reveal their word. When everyone had a picture on their LearnPad, I said, "Go!" and the collaboration began to build compound words. Once everyone had found their group, we read through them as a class. Students returned to their seats, passed their QR Code to their neighbor and the process was repeated again. While we did this activity on the LearnPad, the same thing could be done on the iPad as well. For the iPad, we would have used the app called Qrafter to scan the codes. Regardless of using the LearnPad or iPad, both devices would allow you to complete this activity the exact same. With this being said, I would give a tie to building compound words on the LearnPad and iPad. Check out the video below to see our activity in action Share This:
LearnPads We have been using the QR Code Reader app on the LearnPad to provide students with the opportunity to get up and move around the classroom. During our math lesson today, students used their LearnPads to scan codes. After the code was scanned, a question was displayed. According to what the question asked, students then had to record their answer. While this is something that could have been accomplished on paper, it got kids up and moving. It was a great way to utilize the LearnPads, have kids moving and learning at the same time. Below is the file we used if you know some early primary teachers that would like some practice with telling time in the digital format. iPads On the iPads we have always used the Qrafter app. It has the same functionality as the QR Code Reader on the LearnPads. It allows you to scan with either the front or rear facing cameras. You can also tog on and off what happens when the code is scanned. You can set it to automatically open to the code or ask approval before opening. We have been able to use both iPads and LearnPads to complete our QR Code activities. If you would like to see some of the activities we have done with the iPad and QR codes, check them out here. Share This: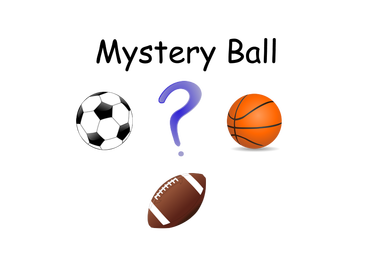 Part 1--QR Code Riddle Hunt We recently started our new unit in science called Balls and Ramps. To begin this science unit, we worked in small groups to solve riddles about a mystery ball. I had created a "scavenger hunt" for students to sort clues based on the ball being described. Below is the example that I put together. Feel free to download and use by clicking here. The above file shows the layout of this project. Let me describe it so it makes more sense. The first page has a soccer ball, football and golf ball. There are also a total of 10 clue numbers listed underneath (The numbers could be crossed out so kids knew which clues had been listened to already). The next couple pages are the actual QR Codes that I cut out and glued around the classroom. The last page is the answer key for which clues described which ball(s). Kids would use the Qrafter app to scan the codes. The codes played an audio clue. The student would then put the "clue number" under the ball they though it described. I created the audio clues using the website Record MP3. This website lets you record audio and once saved, generates a URL for your audio recording. This URL was then pasted into the Chrome app QR Code Generator. These QR codes were then saved into my document. Part 2-STudent Created riddles with Educreations After students had finished their QR code riddle hunt, we then gathered to talk about creating our own riddles. Students were put into small groups of five. Each group was given a picture of a ball (The file can be downloaded here). Each group was given a template to record their clues (Download here). Each student had to come up with a clue that described his/her group's ball. Once these clues were written down, we used the Educreations app to insert a "Mystery Ball" picture and have students record while reading their clues. After students had recorded their clues for their group's "Mystery Ball," we embedded them onto our class Kidblog. This allowed students to go on and guess each group's ball based on the clues. Below is an example of an Educreations final product.
This week in 1st grade we are reviewing our understanding of subject and verbs. So far we have been talking about complete sentences. We discussed having a naming part and a telling part in a sentence. While we have talked about subjects and verbs in the past, we had not explicitly practiced differentiating between words that were subjects or verbs. To provide some practice during small group rotations, students used the iPads along with the Qrafter and Educreations apps. To set up this activity, I recorded a word using the website Record MP3. Below is an example of how I worded it when recording. "Throw" I can throw a baseball. "Throw" After recording, I can choose to save at which time a URL is provided. This URL was then pasted into the QR Code Generator Chrome App. These QR codes were then saved into a Word document for future use. The students would scan the code using the Qrafter app. After scanning, the word would be read to them. Next, students would open the Educreations app and put the letter that was associated with the QR Code into the correct column. For a better example and explanation, check out the video below. Below is an example of a final product that a student created. 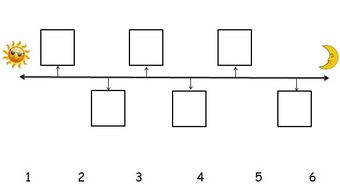
My 1st graders used the iPads to check their understanding of timelines. We had been exploring timelines in a recent math lesson and I wanted my students to practice arranging events on a timeline. In order for my students to relate to the events, we practiced placing events from a typical day at school in the correct sequence. There were a total of six events that needed to be placed into the correct box on our makeshift timeline. There was a sun placed a the beginning to represent morning and a moon at the end to represent night. It was up to the students to place the number in the correct box. Below are the steps I used to create this activity. Timeline
I used Microsoft Word to create my timeline worksheet. I added a sun at the beginning and a moon to the end. The numbers at the bottom were for students to cross out as they began writing numbers in the boxes. This was to help alleviate scanning the same QR code over and over. QR Codes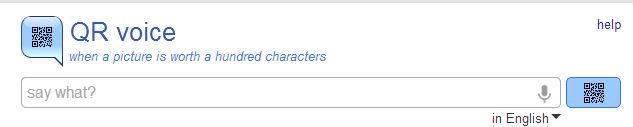
I used the website QR Voice to create my QR Codes. This is a site that you type the text into the box. QR Voice automatically generates a QR code. When this QR Code is scanned, the text that you typed is read aloud to the person who scanned it. While I could have used a QR code that would simply display text only, I chose QR Voice to help with my students that are transitioning to independent readers. 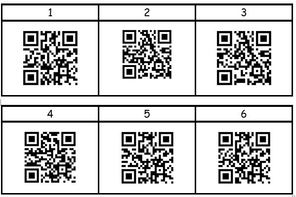
Above are the QR codes that I created using QR Voice. I put them into a table in the same file that I created my timeline worksheet. I was able to print these, cut them out and tape them up around the classroom. *Make sure to leave the number with the QR code so the students know which "event" is associated with each number. Events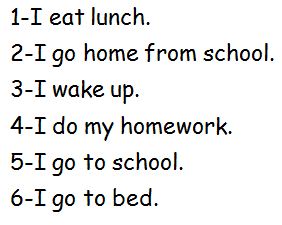
Above are the events from our typical school day. You can see that the numbers next to each event are not in the correct order. I told students when putting numbers in the boxes on the timeline that they would not just put 1,2,3,4,5,6. ActivityStudents would use the Qrafter app on the iPad to scan a QR code. Once scanned, the "event" would be read aloud to the student. For example, if QR code with the number one above it was scanned, the student would hear, "I eat lunch." It was the students' job to place the numbers in the correct box on the timeline. ReflectionThe students really did a good job with this activity. It required them to keep track of the events that they heard and place them in the correct order. Some students even wrote the "event" sentence next to each number on their worksheet before starting to place numbers into the timeline boxes. Problem solving in action. Love it.
TWEAK Students could use the Educreations app to snap a picture of the timeline worksheet. They could then annotate over the picture writing the numbers in the boxes with digital ink. When they completed the timeline worksheet via Educreations, they could embed the video onto their blog or send the link to the teacher to check their work. 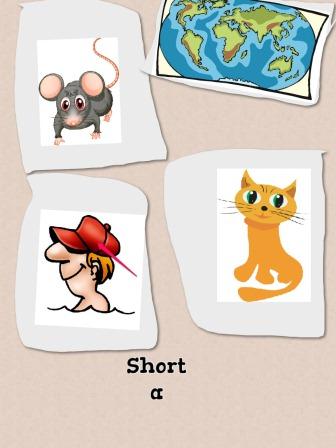 As my 1st graders continue to learn about short vowel sounds, I try to find different ways to enrich their learning experience using the 5 iPads that we have in our classroom. We have talked about the short "a" and "i" sounds so far this year. In our previous exploration of building words, we used the Educreations app and picture cards to build words. Read about it here. Our goal with our new activity was to hone the skill of differentiating between the sound represented by the short "a" and the sound represented by the short "i." Furthermore, I wanted them to practice their collaboration skills by working in small groups to sort pictures. There is some initial prep, but the kids loved this activity. I created a screen cast about this process which may help clarify some of the steps that are listed below the video. Step 1: finding pictures with short "a" and "i" The first job I had was locating numerous images that could be used to represent the short vowel sounds of "a" and "i." Luckily for my district, we have access to iClipart for Schools. If you do not have access to clip art, check out my clip art resource page to find resources for finding royalty free clip art. Step 2: Saving pictures to the cloud After you have found the pictures you want to use, you can save the to a cloud service such as Google Drive, Dropbox, SkyDrive, Box, etc. I used Google Drive for this step. There are a couple reasons I saved it to the cloud: 1) I can reuse this or tweak it year after year instead of reinventing it each time, 2) I can get a URL for my image stored in the cloud. Step 3: Create QR Codes Now that you have your images saved to the cloud, you can obtain the URL for your image. In Google Drive, you can choose to share your image and change the option to "anyone who has the link can view." By doing this, you are given a link for your shared image. If you are not familiar with QR Codes, check out Common Crafts explanation. You can use any QR Code generator you would like to create QR Codes for your images. I used QR Code Generator which I have as an app in Chrome. I copied the link of each image, and created a QR Code for each image. Step 4: Save QR Codes As you are creating a QR code for each of your images, it is a good idea to save them into a document or spreed sheet. Since I was using Google Drive to store my images, I just created a Google doc to house the QR codes for this activity. I inserted a table and began adding my QR codes. This allows me to have them for future reference as well as label them so I know what the QR code represents without having to scan it. Step 5: Print, Cut and hang QR Codes Once you have all your QR codes created and saved, you can print them out. I printed out two copies. One that I could cut up and then one that I could keep as a master while students were doing the activity. While I was cutting, I put a "1" on the first QR code that was to get hung up and then put a "1" on my master copy. *Remember the master has a caption telling what each QR Code is without scanning it. However, I don't want my students to see what the QR Code is unless they scan so I just put a "1" on it so I could compare it to the master. This was repeated for all of the QR Codes as I hung them around the class. I had a total of 12 QR Codes hanging around. STep 6: Groups, Pic Collage and have fun! The final step is to put your students into small groups. Also, if your kids haven't used the Pic Collage app, it would be good to go over it first. Basically, the Pic Collage app lets you insert multiple pictures onto one "poster." You can resize, crop, rotate, layer and much more with your images. In addition you can add text to your "poster."
Each group chose either short "a" to "hunt" for first or the short "i." They set out scanning QR Codes using the Qrafter app. Once the QR code was scanned, the correlating image would be displayed on the iPad. If it matched the short vowel their group was "hunting" for then they would screen shot the image (home/power button simultaneously). After the students found all the corresponding pictures for their chosen short vowel, they opened up the Pic Collage app. Once inside the pic collage app, students were able to create a new poster. One option is to add images from the camera roll (this is where all their screen shots saved). After they loaded all their images from the camera roll, they could add text telling what the pictures represented and move onto the next short vowel hunt.  I was reading an article on the Greatist website. This website had its readers respond to the question, "How do you find happiness?" The winner of this writing contest was Casie Cook. You can find her on Twitter @kaceemaree. There was a section of her writing that gave me an idea. She talked about how her dad left her Post-it notes randomly for her to find. These little notes had positive comments. Casie reminisced how this gave her happiness. This gave me an idea of using QR Codes to leave little "notes" of encouragement for my 1st graders. Since reading is a skill that is taught and refined in first grade, I knew that a QR Code that provided a text response could be a challenge to read for some students. However, there are a couple of options for creating QR Codes that play audio. Here is how I envision this in my classroom. Randomly put QR Codes in students' desks, book box, lunch card holder, etc. When a student finds one he/she can use our iPads to scan the QR Code and hear what the code says. I could start the year with my voice being the one speaking but transition to students creating their own voice QR Codes to share with each other. Talk about building happiness in addition to classroom community! The sky is the limit for what your QR Codes could say. "I am so proud of you." "Keep up the great work in math." "Thanks for being a kid of character." "I am so happy to have you in my class." "You have been a rockstar worker lately, keep it up!" Below are a few resources for creating the audio QR Codes:  Record MP3 is a website that can be used to create an audio recording. Press record and begin talking. When finished, press stop. You can choose to save your recording or if you are not happy you can start over. Once you save your recording, you are given a link to the recording. Copy the link and take it to a QR Code generator like Kaywa or QR Code Generator. Paste your link and create a QR Code. Now you have a QR Code that you can print and cut out and place in a student's desk.  Vocaroo is somewhat similar to Record MP3. You click the record button and say what you want. When done press stop. If you are happy you can click save or if unhappy you can retry. If you save, you are given a link for your recording as well as some other options for sharing your recording. You would then take the link to a QR Code generator to produce your talking QR Code.  QR Voice allows you to type text. Once you have typed in your text, click the little QR Code to generate your scannable audio code. The only downside is that it will not be your own personal voice. However, if you do not have access to a microphone and want to create a QR Code that talks, QR Voice is an option.
 I will be presenting at iPad U which is an iPad professional development session hosted at the Grant Wood AEA in Iowa. This PD session will be keynoted by Kathy Schrock. This will be a two day session over integration of the iPad into the classroom. I am fortunate to have the opportunity to share how I utilized QR Codes and to assist in implementing a blended learning model in my daily math instruction. QR Codes were scanned to quickly direct students to videos. Upon completing the video, students took a quiz. After the quiz I used the Flubaroo script in Google Drive to instantly grade the results. This quickly highlighted which students would need some more support or extension. Furthermore, using this model I was able to free up more time to work one-on-one and in small groups more consistently and effectively. |
Andrew FenstermakerInstructional Technology Coordinator | Innovation Coach | Google Certified Innovator | Presenter | Blogger | Adjunct @UiowaEducation | Owner @kids_f_i_r_s_t 


|


 RSS Feed
