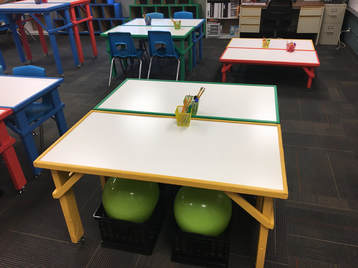
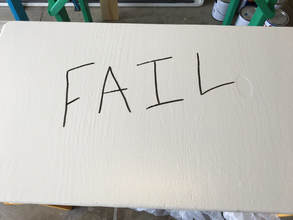
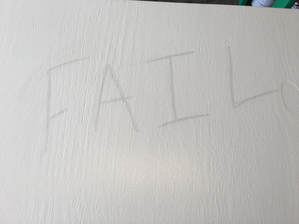
 I have wanted to try flexible seating for quite some time. This year I decided to jump into it by building my own flexible seating options. Here is my original post on my table design. Unfortunately, it was a complete failure.
As you can see from the pictures, the whiteboard paint failed to wipe clean. Even after scrubbing with soap and water or even using Expo whiteboard cleaner, I was still able to see what had been written on the tables. While it was frustrating, I felt that it led to an even better iteration of my tables. Below you will find more information and directions for the tables that I created. Table DesignLegsTable Legs The foundation of the table was in the legs. I created the legs out of 2 x 4 studs that were roughly $3 for an 8 ft. piece. 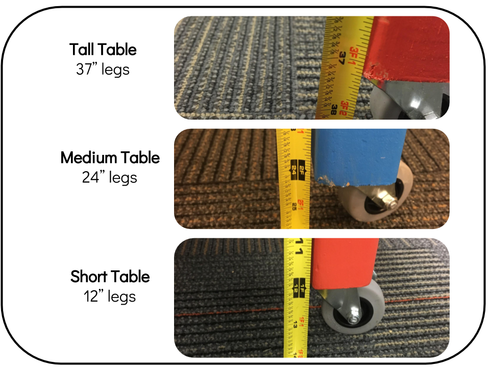 When it came time to attach the legs to the table tops, I placed a couple beads of glue in each corner where the legs would meet the table top. I also screwed two 3" screws from the top down into the leg. 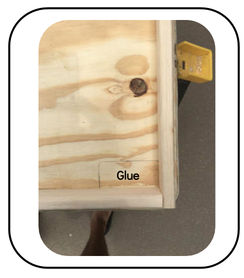 Table Leg Supports After attaching the legs to the table tops, I needed to add some supports to the legs to keep them from folding in on themselves. These supports were made out of furring strips from Lowes. You can get them in bundles of six for about $1 a piece. They are 8 ft long and 1" x 2". They aren't the highest quality and have some knots, but work fine for this project. I placed beads of glue on each piece that would make contact with the top and/or legs. I also used finishing nails to add additional strength. There was a horizontal support that went between both legs on the ends of the tables. This horizontal support was attached using glue and finishing nails. 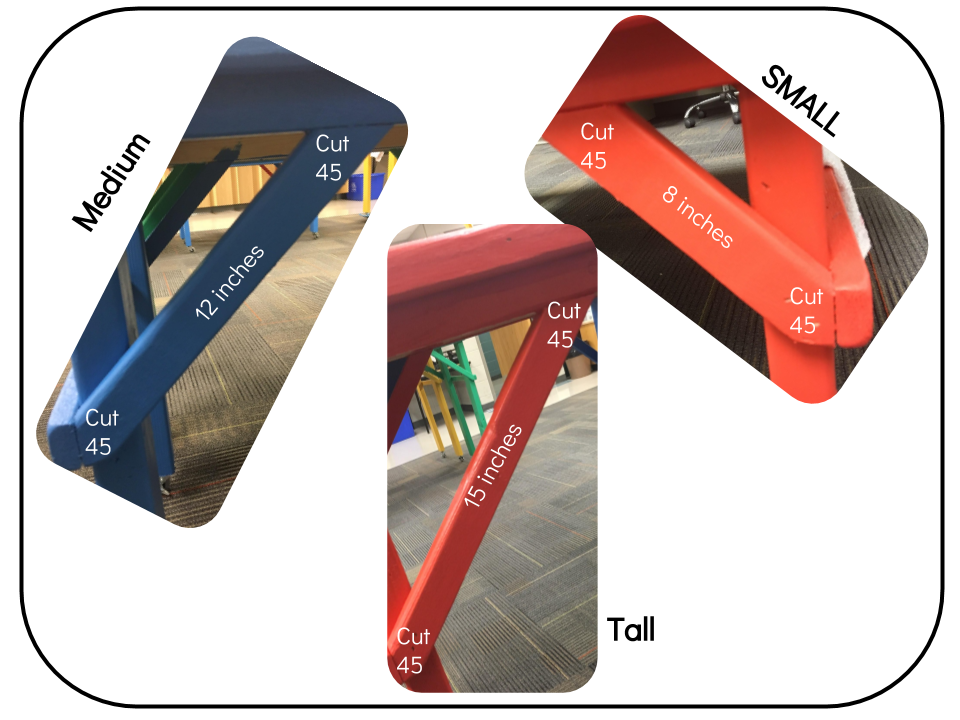 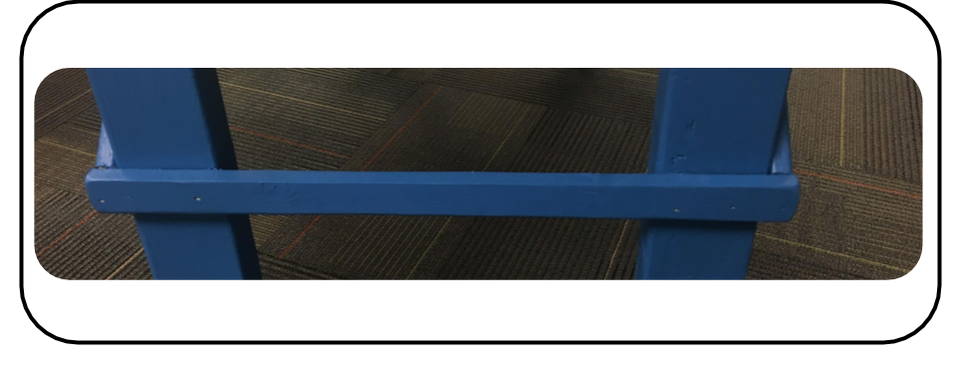 Table Leg Wheels I wanted each table to be moveable so I added lockable casters to each wheel. They were 2" Lockable Casters for $2.47/each from (Menards) (I had to order these online). They are threaded so I added T-Nuts to each leg that allowed the caster to be screwed in. However, I had to add two screws with washers to the edges of the T-Nuts to keep them from falling off. In hindsight, I would have bought casters that you attach with screws instead of a threaded shaft. 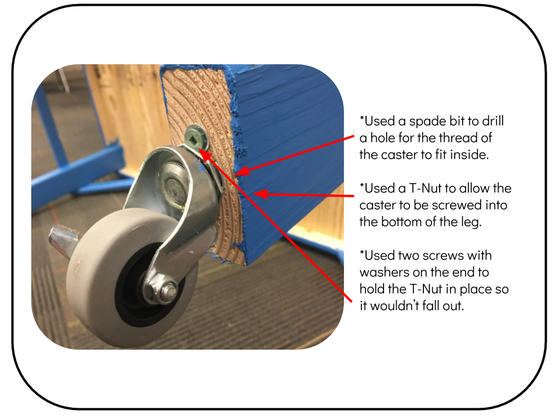 Tops For the tops of the tables, I began by cutting a 5/8" piece of sanded plywood into two foot by four foot sections. After getting the two foot by four foot pieces, I then used a table saw to trim the pieces down so they measured 23 1/4 inches wide by 47 1/4 inches long. This shortened length allowed me to cut the whiteboard panel in 2 ft. x 4 ft. sections. These sections were then able to be slide into some notched furring strips which I explain in a bit. 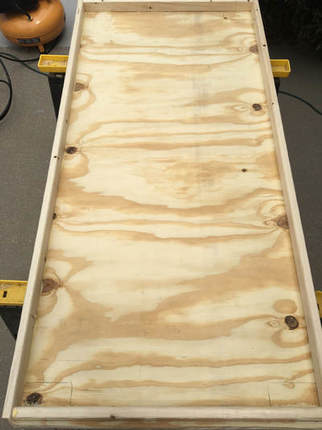 To the left you will see the underside of a table top. I measured in 1/2 inch all the way around. I then cut furring strips so that they butted up to the lines that I had drawn from measuring in 1/2" from the edge. I attached these furring strips with wood glue as well as some finishing nails. You can also see in the corners that I placed a 2 x 4 that I was going to use for my legs. I traced around the 2 x 4. I then pre-drilled two holes so I knew where to screw into the legs. Legs were then attached with wood glue and screws. 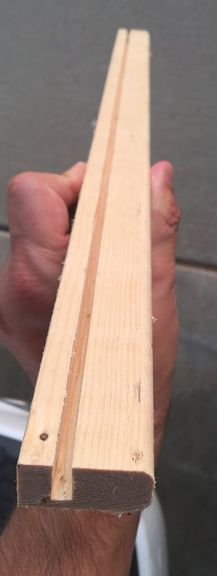 I used furring strips to create an edge around the tops of the tables. You can see in the picture to the left that I had grooves in each of these furring strips. The grooves allowed the whiteboard panels to slide right on top of my plywood top. These furring strips hold the whiteboard panels in place. I used a table saw to notch out all of the furring strips. I set the fence 1/4" away from the blade. I then ran the furring strip through the table saw to create my first notch. I then adjusted the fence so that it was 5/16" away from the blade. I repeated the process of running the furring strips through the saw. I did two different distances so that the notch had some play when the whiteboard panel was slid into it. Only one pass at 1/4" created a very tight fit for the whiteboard panel and didn't allow it to slide at all. 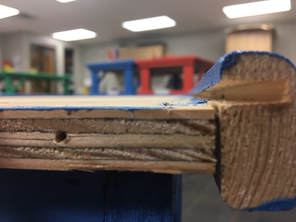 I securely fastened furring strips to the two long sides and one of the short sides. I used my finishing nailer to secure the furring strips to the sides. The final short side was predrilled and then screwed into the plywood. You can see one of the predrilled holes in the picture to the left. This will allow me to easily change out any of the whiteboard panels that might get damaged throughout the year. 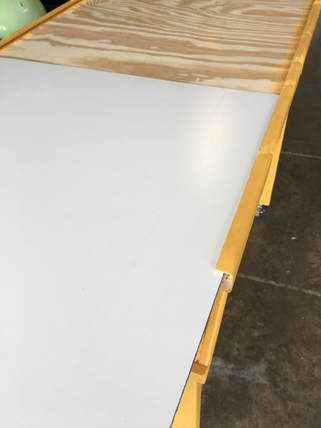 As you can see in the picture to the left, the whiteboard panel simply slides into the channels that were notched into the furring strips with the table saw. The whiteboard panels were cut exactly 2 ft. x 4 ft. This created an overhang that would fit into all the channels within the furring strips.
1 Comment
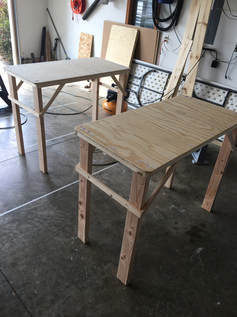 Flexible SeatingI have long been wanting to change the seating within my classroom. I preach about student choice within the classroom, but I still assign seats for students. While I do provide flexibility where student may work during independent work time, I have yet to provide more autonomy for student seating. I have a vision to completely revamp my classroom for this school year. I want to ditch the desks and create a variety of seating choices within my classroom. I want all of the seating options to have dry erase tops and be on wheels for easy reconfiguration. Below is the first part of this classroom redesign. Standing DesksAs I started to brainstorm standing desks, I gave myself a budget of $20 per desk. This was ambitious, but I wanted to keep the cost low so others could see this as an attainable option for flexible seating. Supplies: 5/8" 4 ft x 8 ft Plywood sanded (Lowes) $19 *This makes 4 table tops with 2 ft. x 4 ft dimensions 2" x 4" 8ft stud $3/each *Need two per table 1" x 2" 8ft furring strips $1/each *Need three per table 2" Lockable Caster $2.47/each *Need 4 per table (Menards) (I had to order these online) T-Nut *Still waiting for my casters to arrive to determine exact size Wood Glue Wood Filler Finishing Nails 2 1/2" Wood Screws Step 1 Cut the plywood into four pieces measuring 2 ft x 4 ft. 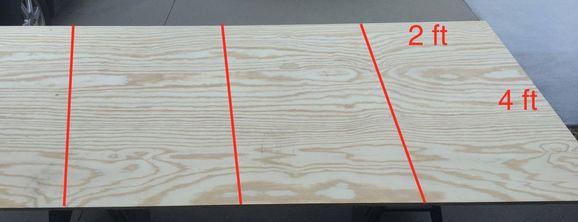 Step 2 Round the edge of each corner. I used a spray can lid to trace and cut each corner. 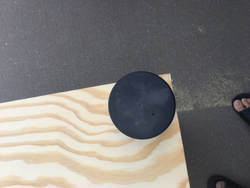 Step 3 Use a router around the edges. Make sure to do both sides of the board to round off the edges. Step 4 Measure 1/2" in from each side and draw lines 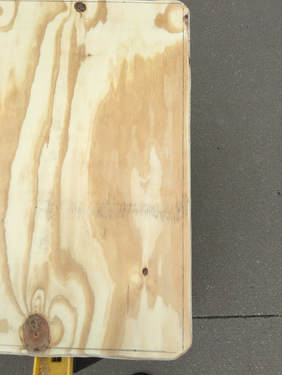 Step 5 Cut your furring strips to edge your board. The edge of the furring strips will go against your drawn lines so that you have the 1/2" buffer between the furring strip and edge of the plywood. Run a bead of wood glue and clamp the furring strips to the sheet of plywood. I used a finishing nailer and put between four and six nails in the long sides and around three in the short sides. *My long sides were roughly 47" *My short sides were roughly 21 1/2" 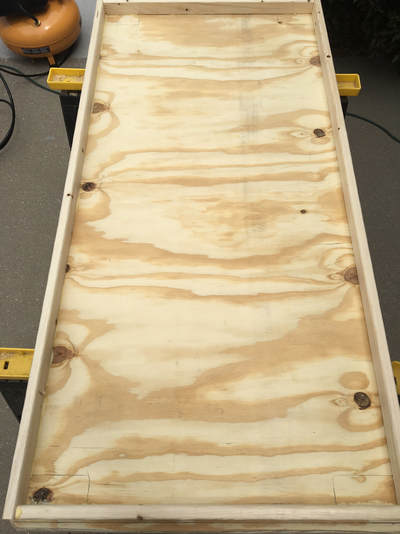 Step 6 Cut your 2 x 4 to length. I cut mine at 37". The caster is around 2" and my goal was to have the table top right at 40". After cutting four pieces to length, trace the 2 x 4 on each corner of the table top. After tracing in each corner, I predrilled two holes where each 2 x 4 would sit. I then ran the 2 1/2" wood screws up from the bottom so the tip was just coming through the plywood. I then put a bead of wood glue where I had traced, set the 2 x 4 in place and then screwed the screw in from underneath. **This is with the top of the table resting on the saw horses (facing the ground) and the bottom of the table facing up. 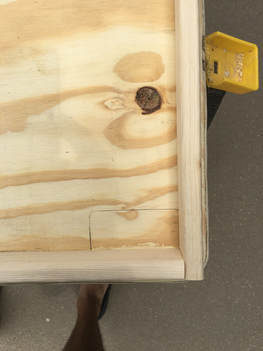 Step 7 After the 2 x 4 legs are attached in each corner, I then cut a furring strip 15 1/2" long and put 45 degree cuts on each end. I put some wood glue on the furring strip and used the finish nailer to attach one end into the furring strip edge of the table and the other end into the 2 x 4 leg. 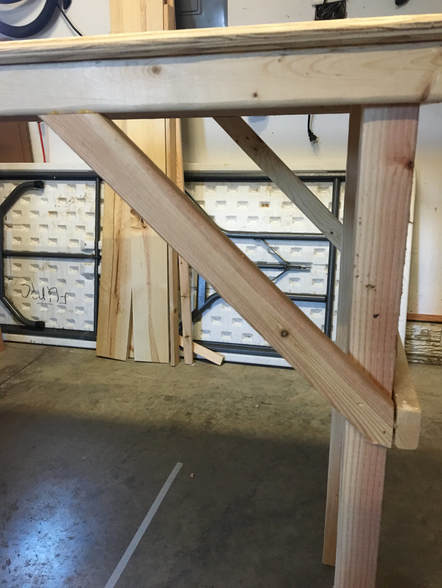 Step 8 Next, I cut a furring strip piece to go horizontally across between my two angled furring strip pieces. I added some wood glue and used the finish nailer to attach. This provided stability to the legs so they wouldn't move front to back. 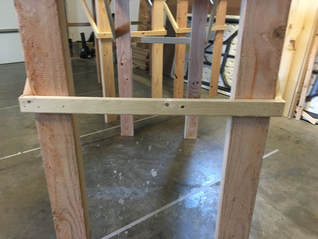 Step 9 Set the table upright and add wood filler to the top holes that were created from the screws and finishing nails. 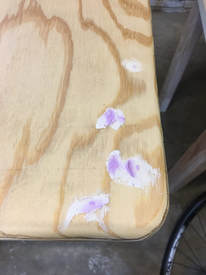 Next StepsI am in the process of letting the wood filler dry so I can sand it. Once I get it all sanded, I will be painting the top with dry erase paint. It is roughly $20 and says it can do coats on around 55 sq. ft. I am figuring one box of dry erase paint for four tables.
I am still waiting on my casters to show up. Once they arrive, I will be installing them and then painting the legs on the tables. Once I have them completed, I will make sure to post about it. Final thoughts on cost for one table. 2 ft x 4 ft cut plywood: $5 1" x 2" furring strip x 3 @ $1/each: $3 2' x 4' 8 ft x 3 @ $3/each: $6 Dry erase paint: $5 Casters x 4 @ $2.50/each: $10 Tee nut: $0.20/each x 4: $0.80 Total Cost Per Table: $29.80 |
Andrew FenstermakerInstructional Technology Coordinator | Innovation Coach | Google Certified Innovator | Presenter | Blogger | Adjunct @UiowaEducation | Owner @kids_f_i_r_s_t 


|
 RSS Feed
