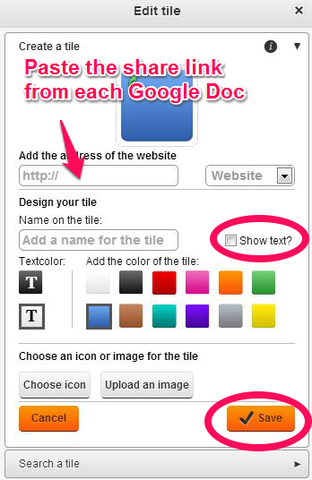
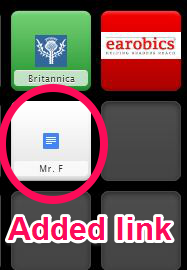
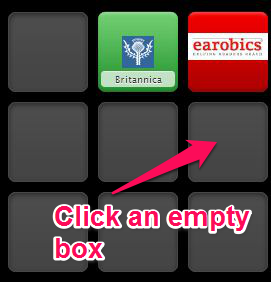
 My first graders have been working on animal research this week. We had previously worked on animal research in small groups. This time around we went to individual animal research. Students got to pick their own animals and record all their information about their chosen animal. To accomplish this, we used Google Docs, Britannica School Elementary (available through our AEA), Symbaloo and Kidblog. Google Doc Set up We are not a GAFE school. I used my personal Google Account to set up the documents that each student would be working on for their research. I began by creating a new Document for each student. I saved it as their name.  After creating the document, I had to make the document "shared." I changed the privileges to anyone who had the link could edit the document. By allowing anyone with the link to edit, there was no log on necessary by my students to add content. 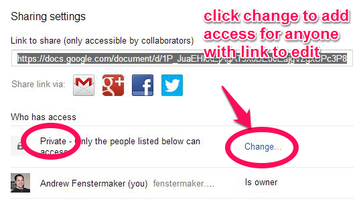 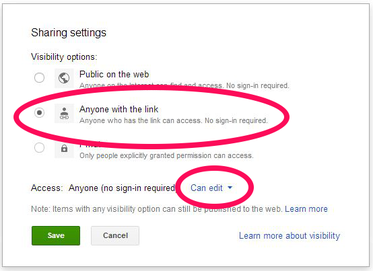 After you have changed the permissions, you can then copy the link. Anyone who has that link will be able to edit since you just changed the permissions. *This link will be important to add to Symbaloo.  Below is a visual of what I added to each document. The students then added the rest of the content. I provided them with the template to assist with organizing their text as they found information. 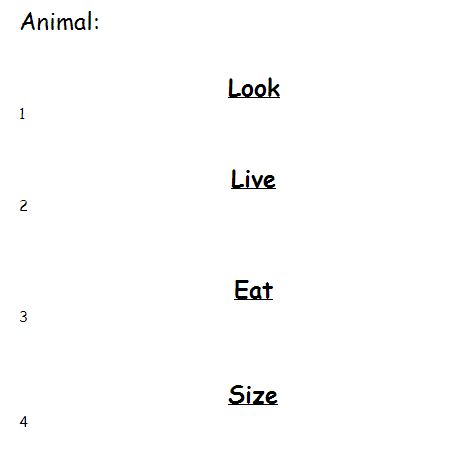 Symbaloo Set up We already use Symabloo for all of our links. This is a simple way for students to quickly access everything we use on the web. Below is a screen shot of the Symbaloo page. Each student had one icon that when clicked would open their Google Doc. 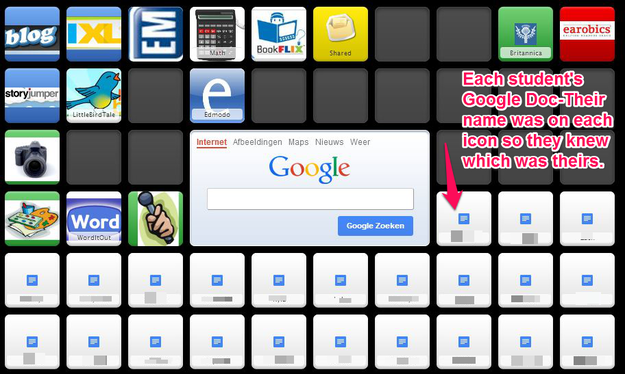 Below are the steps I used to add each icon to our Symbaloo page.
  This process would be repeated for each student. Since I have 23 first graders, I had to add a total of 23 individual icons that would provide a shortcut to get to their Google Doc. Britannica Below is a screen shot of what the Britannica page looked like for my kids. They chose the mammals link to choose their animal and find facts for their animal research.  After clicking on mammals, students got to find an animal. Once an animal was found, they would then click on that animal's name. 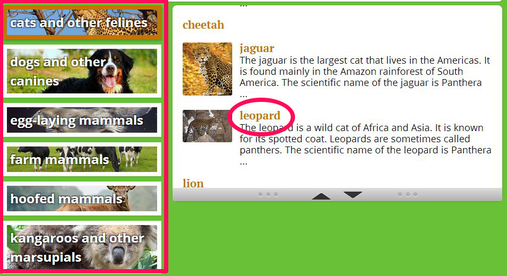 Once on the chosen animal, they could try their best to read the information. There is an option to have the text read aloud. Many students took advantage of this option to gather the facts about their animal. 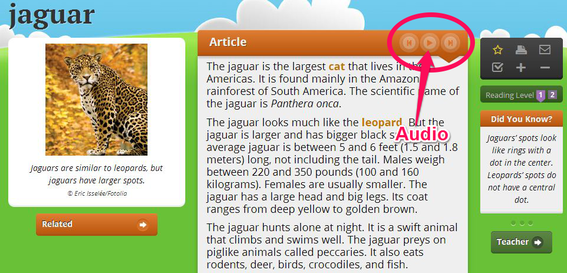 Kidblog After students finished their animal research, I was able to embed the Google Doc within their Kidblog. I did this part as it took some changes to the Google Doc to allow for embedding on their Kidblog. Below is an example of an embedded animal research project. 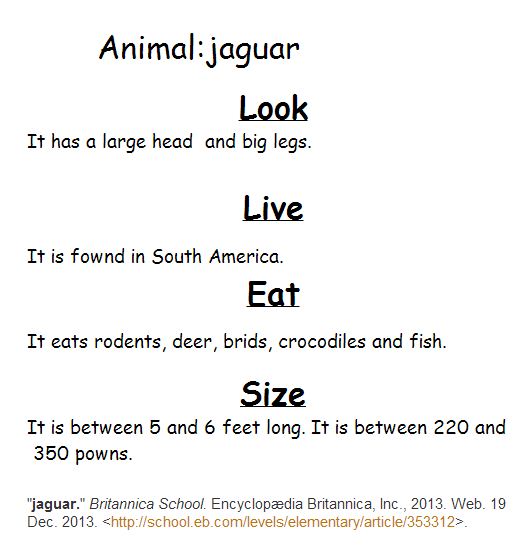
0 Comments
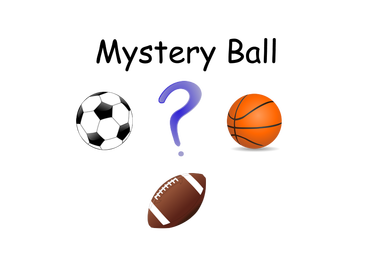 Part 1--QR Code Riddle Hunt We recently started our new unit in science called Balls and Ramps. To begin this science unit, we worked in small groups to solve riddles about a mystery ball. I had created a "scavenger hunt" for students to sort clues based on the ball being described. Below is the example that I put together. Feel free to download and use by clicking here. The above file shows the layout of this project. Let me describe it so it makes more sense. The first page has a soccer ball, football and golf ball. There are also a total of 10 clue numbers listed underneath (The numbers could be crossed out so kids knew which clues had been listened to already). The next couple pages are the actual QR Codes that I cut out and glued around the classroom. The last page is the answer key for which clues described which ball(s). Kids would use the Qrafter app to scan the codes. The codes played an audio clue. The student would then put the "clue number" under the ball they though it described. I created the audio clues using the website Record MP3. This website lets you record audio and once saved, generates a URL for your audio recording. This URL was then pasted into the Chrome app QR Code Generator. These QR codes were then saved into my document. Part 2-STudent Created riddles with Educreations After students had finished their QR code riddle hunt, we then gathered to talk about creating our own riddles. Students were put into small groups of five. Each group was given a picture of a ball (The file can be downloaded here). Each group was given a template to record their clues (Download here). Each student had to come up with a clue that described his/her group's ball. Once these clues were written down, we used the Educreations app to insert a "Mystery Ball" picture and have students record while reading their clues. After students had recorded their clues for their group's "Mystery Ball," we embedded them onto our class Kidblog. This allowed students to go on and guess each group's ball based on the clues. Below is an example of an Educreations final product.
This week in 1st grade we are reviewing our understanding of subject and verbs. So far we have been talking about complete sentences. We discussed having a naming part and a telling part in a sentence. While we have talked about subjects and verbs in the past, we had not explicitly practiced differentiating between words that were subjects or verbs. To provide some practice during small group rotations, students used the iPads along with the Qrafter and Educreations apps. To set up this activity, I recorded a word using the website Record MP3. Below is an example of how I worded it when recording. "Throw" I can throw a baseball. "Throw" After recording, I can choose to save at which time a URL is provided. This URL was then pasted into the QR Code Generator Chrome App. These QR codes were then saved into a Word document for future use. The students would scan the code using the Qrafter app. After scanning, the word would be read to them. Next, students would open the Educreations app and put the letter that was associated with the QR Code into the correct column. For a better example and explanation, check out the video below. Below is an example of a final product that a student created. 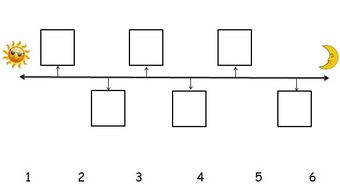
My 1st graders used the iPads to check their understanding of timelines. We had been exploring timelines in a recent math lesson and I wanted my students to practice arranging events on a timeline. In order for my students to relate to the events, we practiced placing events from a typical day at school in the correct sequence. There were a total of six events that needed to be placed into the correct box on our makeshift timeline. There was a sun placed a the beginning to represent morning and a moon at the end to represent night. It was up to the students to place the number in the correct box. Below are the steps I used to create this activity. Timeline
I used Microsoft Word to create my timeline worksheet. I added a sun at the beginning and a moon to the end. The numbers at the bottom were for students to cross out as they began writing numbers in the boxes. This was to help alleviate scanning the same QR code over and over. QR Codes
I used the website QR Voice to create my QR Codes. This is a site that you type the text into the box. QR Voice automatically generates a QR code. When this QR Code is scanned, the text that you typed is read aloud to the person who scanned it. While I could have used a QR code that would simply display text only, I chose QR Voice to help with my students that are transitioning to independent readers. 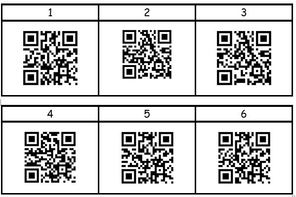
Above are the QR codes that I created using QR Voice. I put them into a table in the same file that I created my timeline worksheet. I was able to print these, cut them out and tape them up around the classroom. *Make sure to leave the number with the QR code so the students know which "event" is associated with each number. Events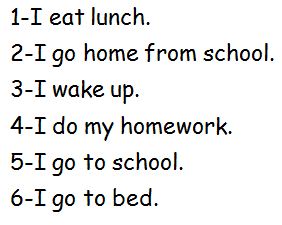
Above are the events from our typical school day. You can see that the numbers next to each event are not in the correct order. I told students when putting numbers in the boxes on the timeline that they would not just put 1,2,3,4,5,6. ActivityStudents would use the Qrafter app on the iPad to scan a QR code. Once scanned, the "event" would be read aloud to the student. For example, if QR code with the number one above it was scanned, the student would hear, "I eat lunch." It was the students' job to place the numbers in the correct box on the timeline. ReflectionThe students really did a good job with this activity. It required them to keep track of the events that they heard and place them in the correct order. Some students even wrote the "event" sentence next to each number on their worksheet before starting to place numbers into the timeline boxes. Problem solving in action. Love it.
TWEAK Students could use the Educreations app to snap a picture of the timeline worksheet. They could then annotate over the picture writing the numbers in the boxes with digital ink. When they completed the timeline worksheet via Educreations, they could embed the video onto their blog or send the link to the teacher to check their work. |
Andrew FenstermakerInstructional Technology Coordinator | Innovation Coach | Google Certified Innovator | Presenter | Blogger | Adjunct @UiowaEducation | Owner @kids_f_i_r_s_t 


|


 RSS Feed
